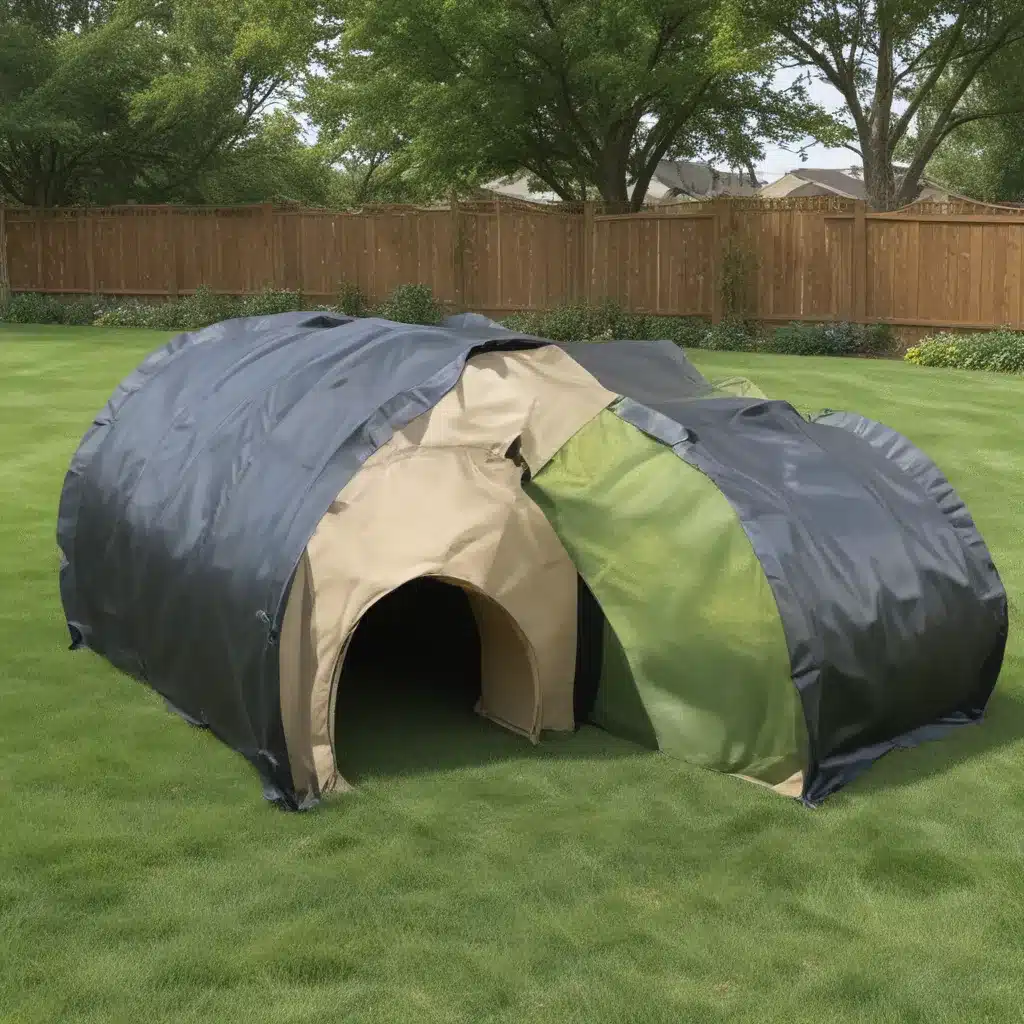
Set Up Tunnels and Chutes for Backyard Agility
Let me start this article with a confession – I’m a total agility nerd. Ever since I got my first dog, Meeker, I’ve been obsessed with this exciting sport. In fact, I’m pretty sure I drive my human friends and family members crazy with my constant babbling about the latest agility trends, training techniques, and equipment setups.
But you know what? I can’t help myself. There’s just something magical about watching our canine companions navigate complex obstacle courses with speed, precision, and pure joy. And when it comes to setting up the perfect backyard agility course, I’m your guy.
Today, I want to dive deep into the world of tunnels and chutes – two of the most essential (and often misunderstood) pieces of equipment in any dog agility setup. Whether you’re a seasoned competitor or a complete newbie, I guarantee you’ll walk away from this article with a newfound appreciation for these versatile obstacles and a plan to incorporate them into your own backyard training.
The Collapsible Chute: A Love/Hate Relationship
Let’s start with the chute, shall we? In the past, every agility organization would include this obstacle on their courses. But these days, it’s become a bit of a rarity. Organizations like the United States Dog Agility Association (USDAA), the American Kennel Club (AKC), the United Kennel Club (UKC), the North American Dog Agility Council (NADAC), and Canine Performance Events (CPE) have all eliminated the collapsible chute from their competition courses.
The reason? Well, it turns out that the chute posed a bit of a risk to our furry friends. You see, some dogs would get caught or tangled up as they were exiting the chute, leading to the occasional pulled muscle or other injury. Not exactly the kind of obstacle we want our beloved pups tackling, right?
So, should you completely avoid the chute in your backyard training? Not necessarily! While you won’t find it on the competition circuit these days, the chute can still be a fun and confidence-building element for home practice. Its collapsible nature and the fact that dogs can’t see through it make it a great tool for building trust and comfort. Plus, if your pup can handle the chute, they’ll be well on their way to mastering the tunnel.
Just be sure to remove any collars or other items that could get snagged, and take it slow when going through the chute to prevent any unwanted injuries. With a little patience and positive reinforcement, your canine athlete will be zipping through that chute with ease in no time.
The Trusty Tunnel: A Staple for Any Backyard Agility Setup
Now, let’s talk about the tunnel – the one obstacle that has managed to stick around in all the major agility organizations’ courses. This obstacle is a must-have for any backyard agility setup, and for good reason. Unlike the chute, the tunnel is not collapsible, and dogs can see all the way through to the other side.
If your pup is a bit hesitant about the tunnel at first, don’t worry. A simple trick is to have one person gently coaxing the dog into the tunnel, while another person is waiting at the exit, offering treats or toys to entice the dog through. This usually does the trick, and it won’t take long for your canine companion to gain the confidence to zip through that tunnel like a pro.
But the tunnel training doesn’t stop there. You’ll also need to practice having your dog exit the tunnel in different directions – sometimes to the right, sometimes to the left, and maybe even straight ahead. This is crucial, as agility courses can be quite unpredictable, and you never know what obstacle configuration you’ll encounter. By thoroughly training your dog on tunnel exits, you’ll be setting them up for success on any course.
Beyond Tunnels and Chutes: Mastering the Agility Essentials
Of course, dog agility is about so much more than just tunnels and chutes. To truly excel in this sport, you and your pup will need to tackle a wide range of obstacles, from jumps of all varieties to the iconic A-frame, dog walk, teeter, pause table, and weave poles.
It can all seem a bit overwhelming at first, but my advice is to start slow and build up your equipment and training over time. Maybe begin with a few jumps and a tunnel, or perhaps a pause table, tunnel, and a jump. Many companies offer great “starter kits” that include just a handful of pieces, which can be a fantastic way to dip your toes into the agility world.
The key is to focus on mastering one obstacle at a time. Once your dog has the hang of it, move on to the next, and then start chaining them together into mini-courses. Don’t forget to mix it up and try new combinations every now and then, keeping things fresh and engaging for both you and your canine partner.
And when it comes to training, always prioritize accuracy over speed. Once your dog is comfortable with each piece of equipment, then you can start working on picking up the pace. But rushing through the fundamentals is a surefire way to end up with a frustrated pup and a disappointed handler.
If you need any equipment, from jumps and contact obstacles to tunnels and chutes, there are plenty of great companies out there that can hook you up. I Have Dogs is a fantastic one-stop-shop for all your agility needs, whether you’re looking for full-size or mini equipment for smaller dogs and puppies.
So there you have it, my fellow agility enthusiasts. With a little planning, the right equipment, and a whole lot of patience and positive reinforcement, you can transform your backyard into a canine obstacle course wonderland. Just remember to start small, focus on the fundamentals, and most importantly, have fun with your furry best friend. Happy training!

